
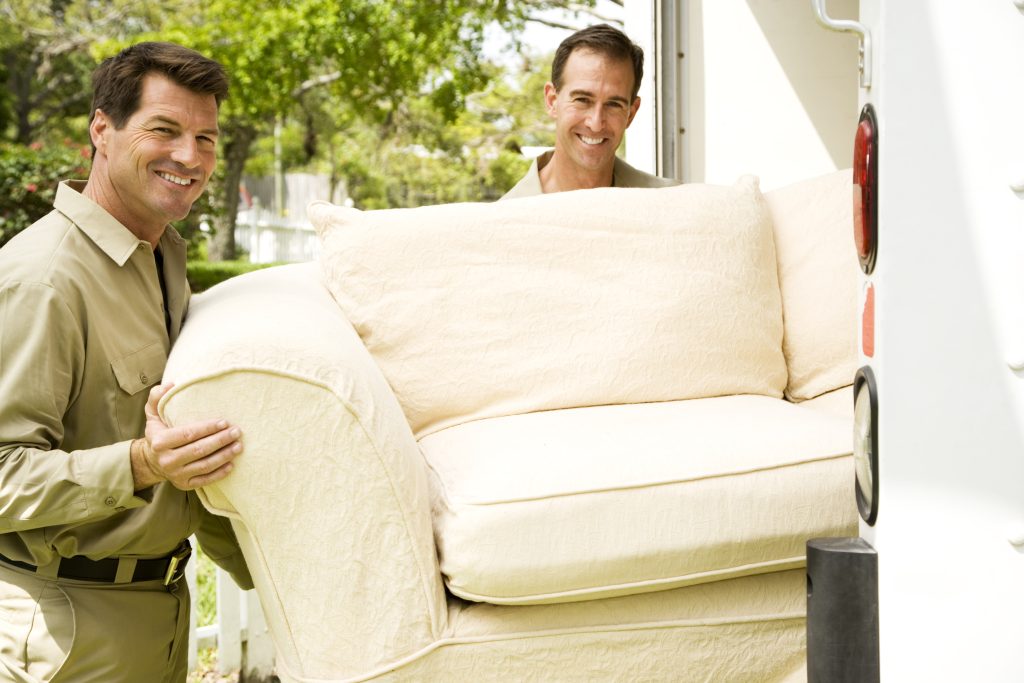
7 Expert Steps for Furniture Removal and Residential Junk Removal Planning
Furniture removal: 7 expert planning steps
You’re not alone if a home cleanout feels like too much. Furniture is heavy, awkward, and easy to bang into door frames. “One quick lift” can turn into a sore back, a cracked wall corner, or a scratched floor.
This guide is a simple plan for Ontario homeowners and renters. It’s built to reduce stress, reduce risk, and help you book the right service with fewer surprises.
Quick disclaimer: local rules for disposal, recycling, and bulky-item set-out can vary by municipality. When in doubt, ask your service provider or check your local program before you move items to the curb. (In Canada, municipalities are generally responsible for collection/recycling/composting and disposal of household waste.)
Step 1: Pick your “finish line” and set a 2-hour first block
Start by naming the outcome in plain language:
- “Clear the basement so we can renovate.”
- “Remove the sofa, mattress, and broken dresser.”
- “Empty the spare room before guests arrive.”
Then set a timer for 2 hours. Your only goal in that first block is to identify what’s leaving and what’s staying. Momentum beats perfection.
Quick checklist:
- Choose 1–2 rooms only
- Write down the top 5 bulky items
- Note any stairs, tight corners, or parking issues
- Take a few photos (helpful for quotes and planning)
Step 2: Do a fast safety scan before you move anything
Most injuries happen during the “just this once” moment. Before you start dragging furniture:
- Clear tripping hazards (shoes, toys, cords)
- Keep kids and pets out of the work zone
- Turn on lights and open blinds
- Check for slippery floors and wet entryways
- Wear closed-toe shoes from the start
If you have stairs, treat them like a hazard zone. Plan a clear path, keep it dry, and don’t rush.
If you want a credible home-safety refresher, the Government of Canada’s injury prevention resources are a solid starting point, especially for avoiding common household injuries: https://www.canada.ca/en/public-health/services/injury-prevention.html
Step 3: Sort into 4 lanes so decisions stop slowing you down
Overwhelm usually comes from decision fatigue. Fix that by sorting into four “lanes”:
- Keep (stays in the home)
- Donate/sell (good condition, still usable)
- Recycle (electronics, metal, some textiles—depends on local programs)
- Remove (broken, bulky, or not worth storing)
Rules that speed it up:
- If you haven’t used it in a year and it has no clear home, it’s a removal candidate.
- If it’s moldy, soaked, or infested, skip donation and remove it.
- If it contains sharp metal, broken glass, or exposed springs, set it aside for careful handling.
Micro-tip: Put a roll of tape and a marker in your pocket. Label bags and piles as you go. You’ll move faster and second-guess less.

Step 4: List “what can be taken” and flag special handling items
Confusion about what can be taken is one of the biggest reasons cleanouts stall. Make two short lists.
Usually straightforward in a home cleanout:
- Couches, chairs, tables, dressers
- Mattresses and box springs
- Bed frames, shelving, desks
- Bagged household clutter
Often needs special handling or advance confirmation:
- Paint, solvents, pool chemicals, pesticides
- Propane tanks or fuel containers
- Batteries (including lithium packs)
- Large appliances (sometimes accepted, sometimes handled separately)
- Loose construction debris (drywall, lumber, tile—often fine if contained, but ask)
- Broken glass, sharp metal, exposed nails
A practical rule: if it can leak, ignite, or puncture, treat it as special handling and ask first.
For lifting and handling, CCOHS notes manual materials handling is a common cause of low back pain and injuries. At home, that means: don’t twist with a load, keep items close, and use tools or help when objects are heavy or bulky.
Step 5: Build a “no-damage” exit route
Property damage is usually a planning issue, not a strength issue. Create a route from each large item to the exit:
- Measure tight spots: door frames, hallway corners, stair turns
- Remove obstacles: hooks, wall art, floor mats, side tables
- Protect surfaces: cardboard runners, old blankets, or drop cloths
- Tape moving blankets to bannisters if you’re using stairs
If a piece needs dismantling, keep hardware in a labelled bag taped to the item. If the item is being donated, keep it intact unless the donation program requests otherwise.
Mini-check:
- Do you have a clear landing area at the exit?
- Can the door open fully?
- Is the path wide enough to pivot a couch?
Step 6: Plan the heavy moves safely (or choose not to do them)
You don’t get bonus points for doing the hardest part yourself. Decide which moves you will do and which you won’t.
If you are moving furniture:
- Use sliders for couches and dressers on hard floors
- Use a dolly for longer hallways
- Lift smoothly, keep the load close
- Avoid twisting; take small steps to turn
- Stop if your grip slips or you feel strain
If you’re unsure, don’t gamble. CCOHS guidance emphasizes reducing the need for heavy manual handling and using aids to lower back-injury risk. The same logic applies to home cleanouts: if it’s too heavy or awkward, use a tool, a second person, or a professional crew.
Step 7: Decide on the right service
Residential junk removal: when it’s the best fit
Use residential junk removal when:
- You have mixed household clutter plus bulky items
- You’re clearing a room, garage, shed, or basement
- You want the job finished quickly, without multiple dump runs
Furniture removal: when it’s the cleanest option
Use furniture removal when:
- You have a few bulky pieces (sofa, mattress, dresser)
- The job is mostly big items, not many small bags
- You want a fast pickup without renting a bin

Many cleanouts are a blend. That’s normal. The win is booking a service that matches your volume and time pressure.
When you’re ready, start with Diamond Disposal’s homepage to see options: https://diamonddisposal.ca/
Then schedule directly through their booking page: https://diamonddisposal.ca/booking/
Pickup-day checklist so it’s done in one visit
Staging:
- Place items near an exit when safe to do so
- Keep pathways at least shoulder-width
- Group similar items together (all furniture in one area)
Safety:
- Wear gloves for splinters, staples, and sharp edges
- Don’t carry tall items you can’t see around
- Keep the load close to your body
- Take breaks and hydrate if you’re doing multiple trips
Access:
- Clear snow and ice from walkways
- Reserve a parking spot if possible
- Let the team know about stairs, narrow doors, elevators, or tight driveways
Communication:
- Share photos of the largest items ahead of time
- Mention anything that needs extra care (glass, mirrors)
- Flag potential hazards (loose nails, broken frames)
A realistic 1-day home cleanout timeline
Morning (60–90 minutes)
- Safety scan + sort into 4 lanes
- Bag loose items, label special handling
Midday (30 minutes)
- Create the exit route
- Stage bulky items by the garage or closest safe exit
Afternoon (pickup window)
- Confirm access and special notes
- Let the pros do the heavy moves
End of day (15 minutes)
- Quick sweep and reset the room
- Make a short list for your next mini cleanout
Bonus: Handle the donate/sell lane without slowing down the removal
Donation is great when items are clean and usable, but it can delay your cleanout if you try to “perfect” it.
Keep it simple:
- Box small donation items together and label the box
- Wipe down furniture quickly, don’t deep-clean
- Set a 30-minute limit for listing items online
- If it doesn’t sell fast, move it to donation or removal
What affects pricing and booking speed
A few factors usually affect cost and timing:
- Volume (how much space the items take up)
- Weight and awkwardness (sectionals, sleeper sofas, solid wood)
- Stairs and carrying distance
- Parking access and loading space
Sharing photos and details up front helps you get a faster quote.
Common mistakes that make cleanouts harder
Avoid these and the whole job gets easier:
- Mixing loose trash with bulky furniture (harder to load and sort)
- Waiting until the last minute to plan the route
- Trying to lift heavy items without tools or help
- Leaving ice or snow at entrances
- Not asking about restricted or hazardous items early
Ready to make it easy?
If you’re feeling stuck, do Step 1 and Step 2 today. Even 20 minutes of sorting can turn “overwhelming” into “doable.”
When you’re ready to schedule pickup, book online and include notes about stairs, bulky items, and anything needing special handling: https://diamonddisposal.ca/booking/
FAQs
1) How much does furniture removal cost in Ontario?
Pricing usually depends on volume, weight, stairs, and access. Photos and a quick item list are the fastest way to get an accurate quote.
2) What items are usually not accepted in residential junk removal?
Items that can leak, ignite, or puncture often require special handling (examples: certain chemicals, fuel containers, some batteries). Ask ahead so your pickup isn’t delayed.
3) How do I avoid damaging walls and floors during furniture removal?
Measure tight turns, clear the path, protect flooring with cardboard or blankets, and avoid twisting while carrying. If it’s heavy or awkward, use sliders/dollies or get help.
4) Should I put furniture at the curb the night before?
It depends on your area and weather. Snow, ice, and moisture can make items unsafe to move and harder to load. A staged garage or covered area is often better if available.
5) What’s the difference between junk removal and renting a bin?
Junk removal is ideal when you want fast hauling and less DIY labour. Bins can be great for longer projects, but require space, loading, and sorting.